Insights
Complete Guide to Sustainable Landscaping in Bee Cave, TX
Published August 17, 2025
Quick Summary
- Who this is for: Bee Cave homeowners fighting caliche/rocky soil, slope runoff, and heavy deer pressure.
- Outcome: A Hill Country–native landscape that stays alive through heat and looks intentional (not “random plants in rock”).
- Cost/Timeline: Focused refreshes often land in $4,000–$12,000; conversions and slope/soil work commonly run $15,000–$40,000+, with 2–10 weeks depending on rock, access, and irrigation.
How much does sustainable landscaping cost in Bee Cave, TX?
In Bee Cave, sustainable landscaping typically costs $4,000–$12,000 for a focused refresh (deer-resistant plants + drip upgrades) and $15,000–$40,000+ for a lawn-to-native conversion that includes soil work, drip irrigation, and tidy edges/paths. Costs rise fast when rock excavation, terraces, or retaining walls are required, so define use zones and phase the build.
Gardening in the Rocks: Bee Cave Landscaping
If you’ve tried to dig a hole in Bee Cave, you know the struggle: it’s mostly rock. Between the caliche soil and the hungry deer population, traditional gardening can be heartbreaking.
The solution is to work with the Hill Country environment, not against it. Sustainable landscaping in Bee Cave focuses on tough, native plants that can root in rocky soil and resist browsing deer.
If you are just starting to plan, skim our metro-wide Austin sustainable landscaping guide and Landscaping services overview first to see how Bee Cave fits into the bigger picture.
For specific scope deep dives, these pages are the most relevant in Bee Cave: Sustainable Landscape Design and Xeriscaping & Drought-Resistant Design.
The Deer Factor
In Bee Cave, if it’s tasty, it will be eaten. We focus on high-resistance plants that deer typically avoid due to texture or scent:
- Damianita: Low-growing, yellow blooms, strong scent.
- Red Yucca: Architectural and tough.
- Lantana: Colorful, rugged, and generally ignored by deer.
- Texas Sage (Cenizo): The purple barometer bush.
Note: No plant is 100% deer-proof when they are starving, but these are your best bets.
The Lady Bird Johnson Wildflower Center maintains a searchable database of deer-resistant Texas natives you can use to vet any plant list you’re given.
Deer-proofing beyond plant choice (the part most guides skip)
Deer-resistant plants help, but design decisions matter just as much:
- Protect new installs: the first 4–8 weeks are the danger zone; temporary cages or netting can save a project
- Use “buffer” plants: aromatic or textured plants on bed edges reduce browsing deeper into the bed
- Avoid deer highways: if there’s a regular path through the yard, don’t put the tastiest plants right beside it
- Plan for drought browsing: deer eat “unpalatable” plants when everything else is dry
Dealing with Rocky Soil
Instead of fighting the limestone, we often build raised beds or berms using imported soil mixes. This gives plants the depth they need to establish. For groundcover, we embrace the natural look of river rock and mulch, which helps retain moisture and suppress weeds.
Consequence map: If you plant directly into shallow caliche without a berm or amended pocket, roots stay near the surface. In August heat, that top layer dries fast, plants “stall,” and you end up replacing shrubs you already paid to install. The fix is usually simple: build depth first, then plant.
A simple soil strategy that works on caliche
- Build a planting berm (even 6–12 inches helps) instead of digging deep into rock
- Use compost + a mineral-forward soil mix for structure (not just “potting soil”)
- Mulch for establishment, then transition to rock/mulch blends as plants mature
A simple Hill Country plant palette (by exposure)
Use this as a starting point when you’re reviewing plant lists:
| Exposure / condition | What works well | What fails fast (common mistake) |
|---|---|---|
| Full sun + rock | Red yucca, Texas sage, damianita, blackfoot daisy | Thirsty “nursery favorites” that need daily water in August |
| Part shade under oaks | Turk’s cap, inland sea oats, autumn sage | Sun-only plants that get leggy and mildew-prone |
| Slope edges + runoff zones | Grasses (little bluestem), tough groundcovers, rock checks | Mulch-only slopes that wash out after storms |
Water Wisdom for Large Lots
Bee Cave properties are often larger than city lots, making efficient irrigation crucial to avoid massive water bills.
- Drip Irrigation: The only way to go for planting beds.
- Native Turf: If you need a lawn, consider Zoysia or Bermuda, but keep the footprint small. Or go wild with a native grass meadow (Little Bluestem) that needs mowing only once or twice a year.
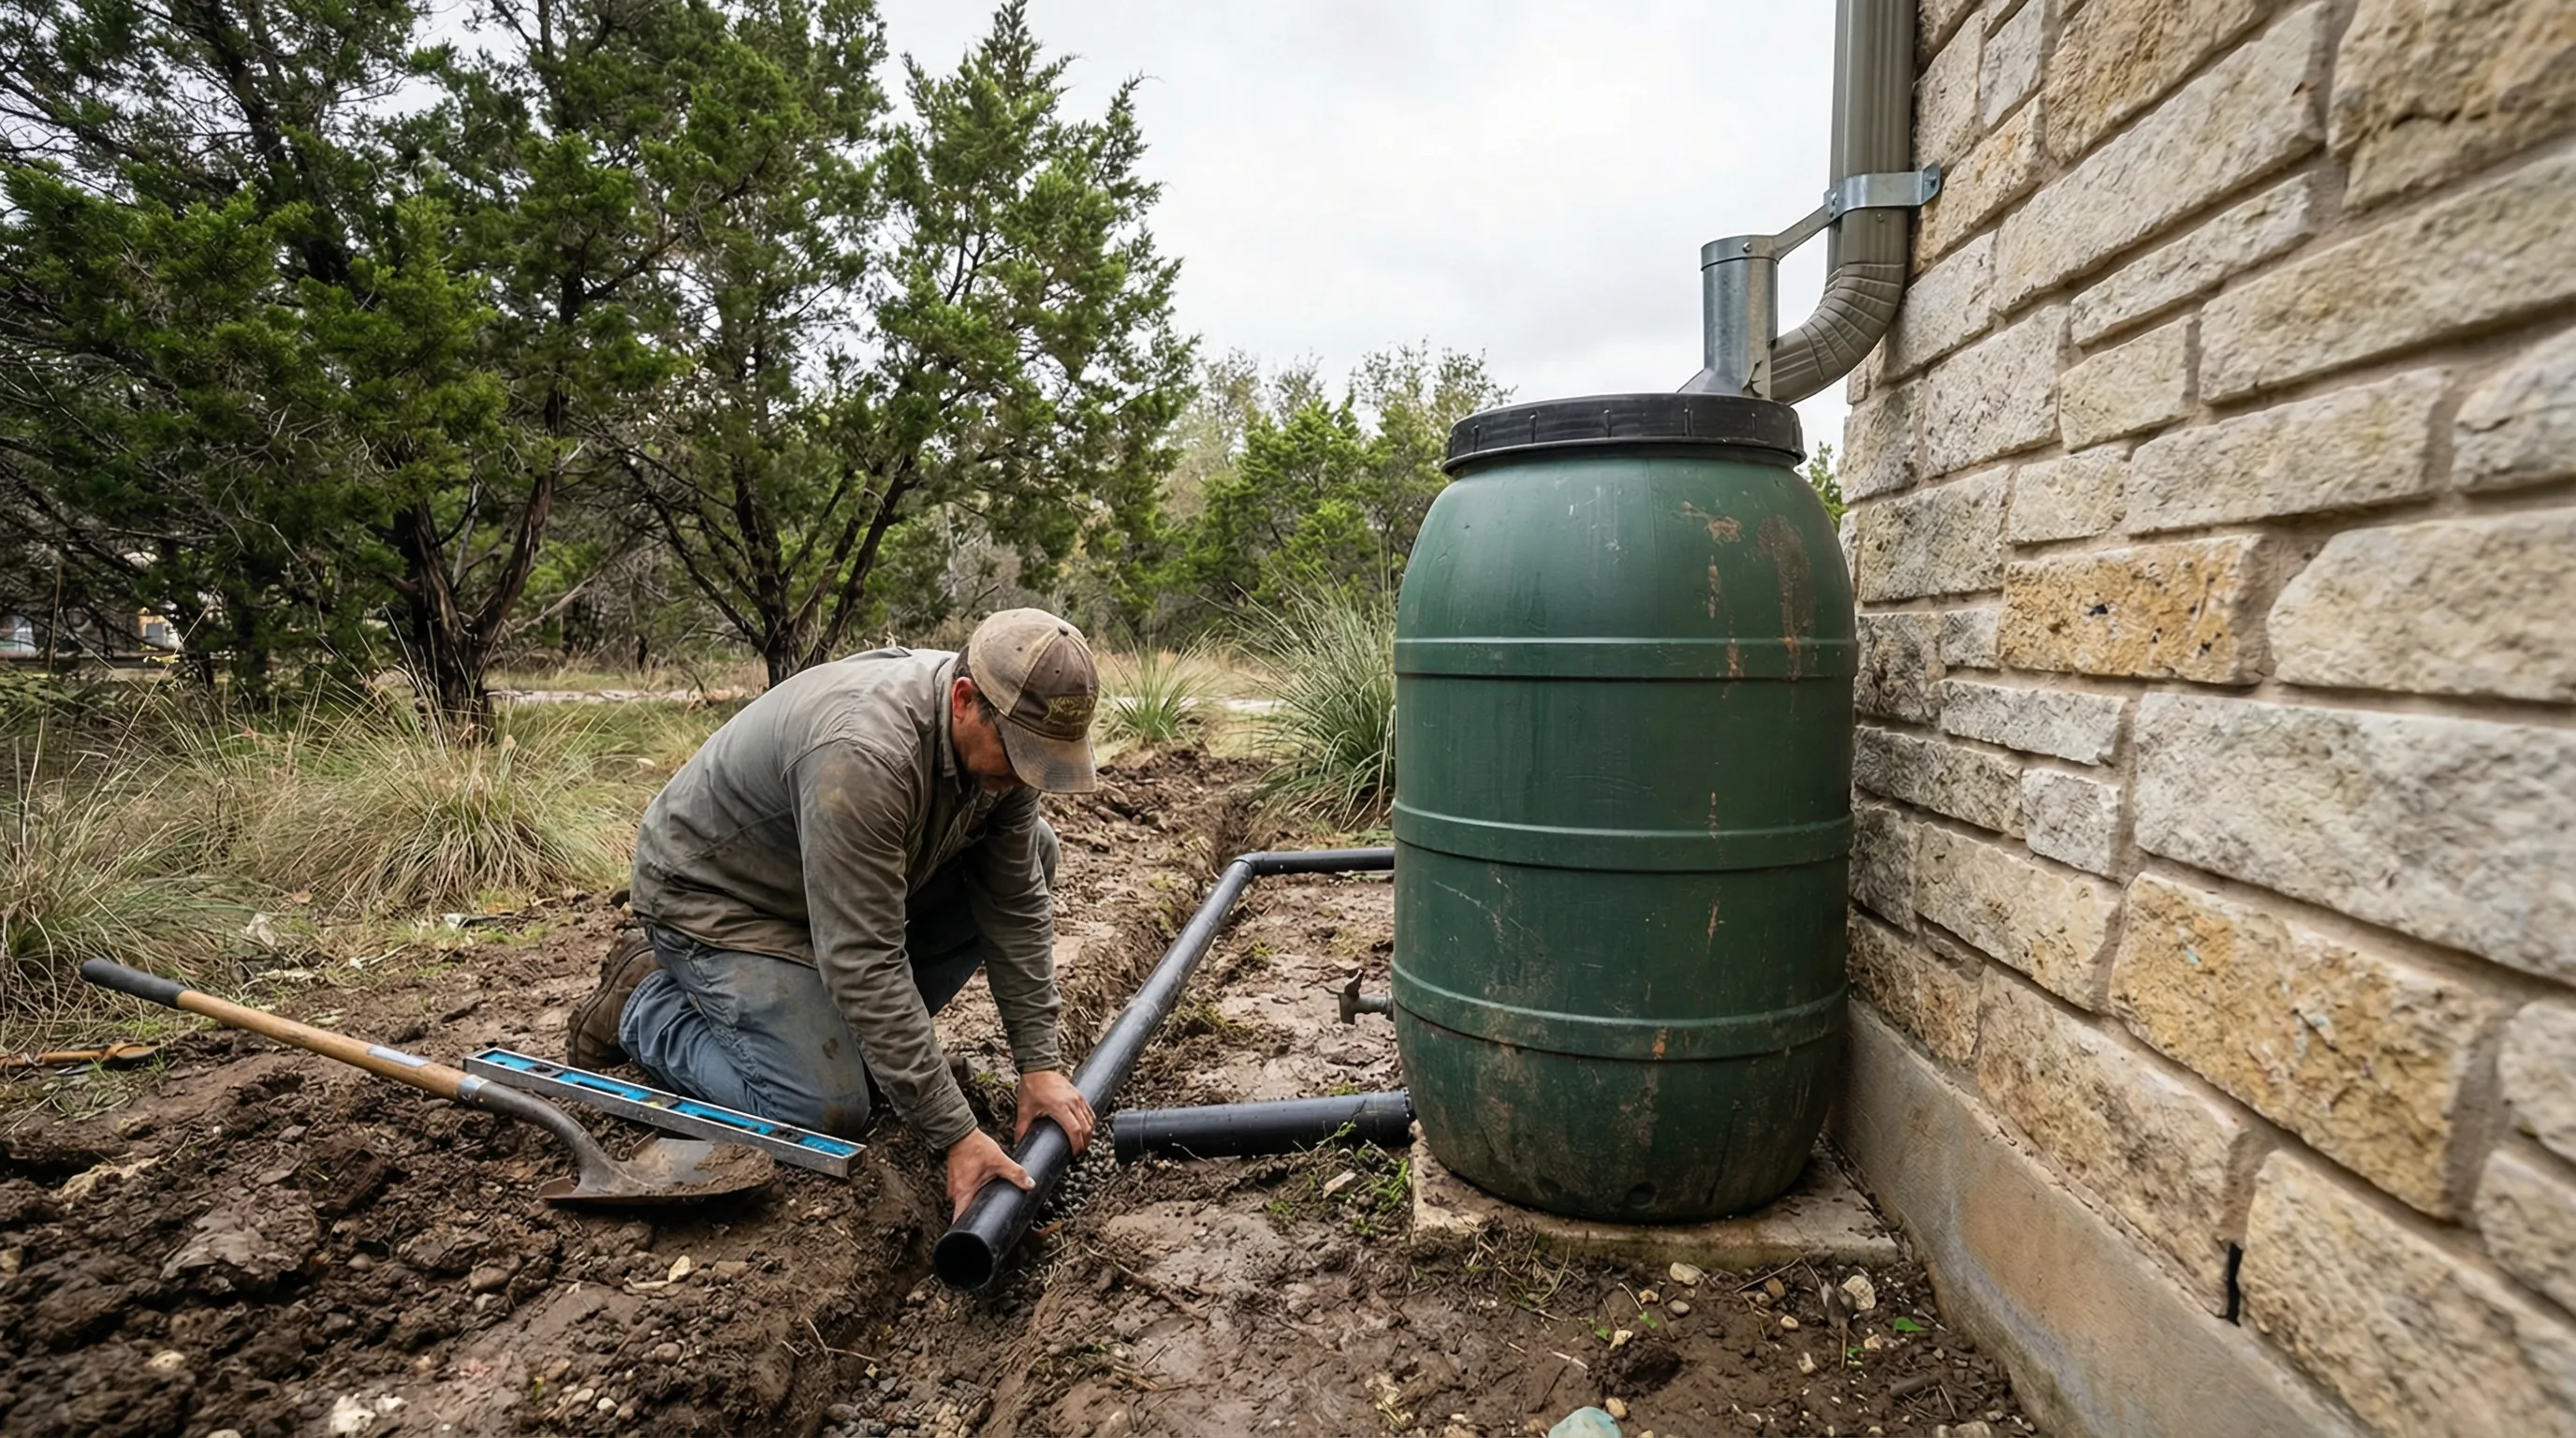
- Rainwater Harvesting: With large rooflines, Bee Cave homes are perfect candidates for cisterns to capture runoff for landscape use.
If you want to cross-check plant water needs and Central Texas guidance, the Texas A&M AgriLife Extension is a reliable reference.
Starter projects that make Bee Cave yards feel “done” quickly
| Starter project | Typical Range | Best for |
|---|---|---|
| Deer-Resistant Entry Beds | $3,500 – $9,000 | Clean curb appeal with tough plants and defined edges. |
| Drip + Bed Retrofit | $1,500 – $5,500 | Fix waste first; protects new plants through summer. |
| Shaded Oak Understory Garden | $4,000 – $12,000 | A calm, low-water bed under mature trees (mulch + drip + shade natives). |
| Slope Planting + Erosion Control | $8,000 – $25,000+ | Rock, fabric, and planting that stabilizes a problem slope. |
Creating a Hill Country Oasis
A sustainable landscape in Bee Cave fits the setting. It looks natural, supports local birds and butterflies, and frees you from the weekend chore of constant mowing and watering.
For many homeowners, the next step after stabilizing slopes and soil is to add structural elements like terraces or patios—our Bee Cave hardscaping guide covers how to do that without undoing your planting work.
Maintenance checklist (realistic, not “set it and forget it”)
- Walk irrigation zones monthly during summer (clogs happen)
- Refresh mulch in high-sun beds before the hottest stretch
- Prune after blooms, not right before extreme heat
- Spot-weed after rains (it’s faster than letting weeds seed)
Start Your Design
Connect with landscape designers who know the unique challenges of Bee Cave soil and wildlife.